How to Make a Lion-Mask Door-Knocker
“Scrooge….Scrooooge…”
During my teaching career, a major part of my classroom preparation involved creating an interesting, beautiful space and elevated personal experience through “learning materials and surroundings.” I spared no expense, but I discovered that I can create a lot out of a little.


How to Make a Lion Mask Door-Knocker
Each year, I chose to have an extra-curricular musical for my students, which meant musical preparation of the students, and set and costume design. Lo and behold, I found set and costume design very therapeutic, and added many unexpected benefits. Also, my students were not able to afford experiences such as this, so that motivated me all the more.
I noticed that when the students saw that I invested a lot in the set and costume design, they grew to try and match my level of effort. I didn’t involve the students in the sets or costumes preparation since my time with them was needed to prepare for the performance, but they knew that after school and rehearsals I devoted many hours to support their experience, and each year, they enjoyed seeing these begin to fill the classroom.
Twice, I needed Lion faces; one for “A Christmas Carol,” on the door for the scene where Scrooge first sees Marley, and several for characters in “The Lion King, Jr.” (watch for future posts on KitchenSinkSongs.com for the LK Lions). I totally enjoyed creating these, and I documented the steps in photos that should help someone create the same.
The Lion Door knocker for Charles Dickens “A Christmas Carol.” I saw this “Marley the actor’s face in a hole in the door” idea on Pinterest and thought it was hilarious, and perfect for my 5th and 6th graders, but it didn’t include the door lion knocker.
The Steps
I learned to use extremely lightweight 4’ x 8’ foam insulation board for backdrops and props on stage and in the classroom. Even if it were to fall (and yes, of course it fell, but lightly floated to the floor), it was so lightweight, no one could be injured. Hot glue and school tempura paints adhered well, and I could cut it with an electric carving knife.
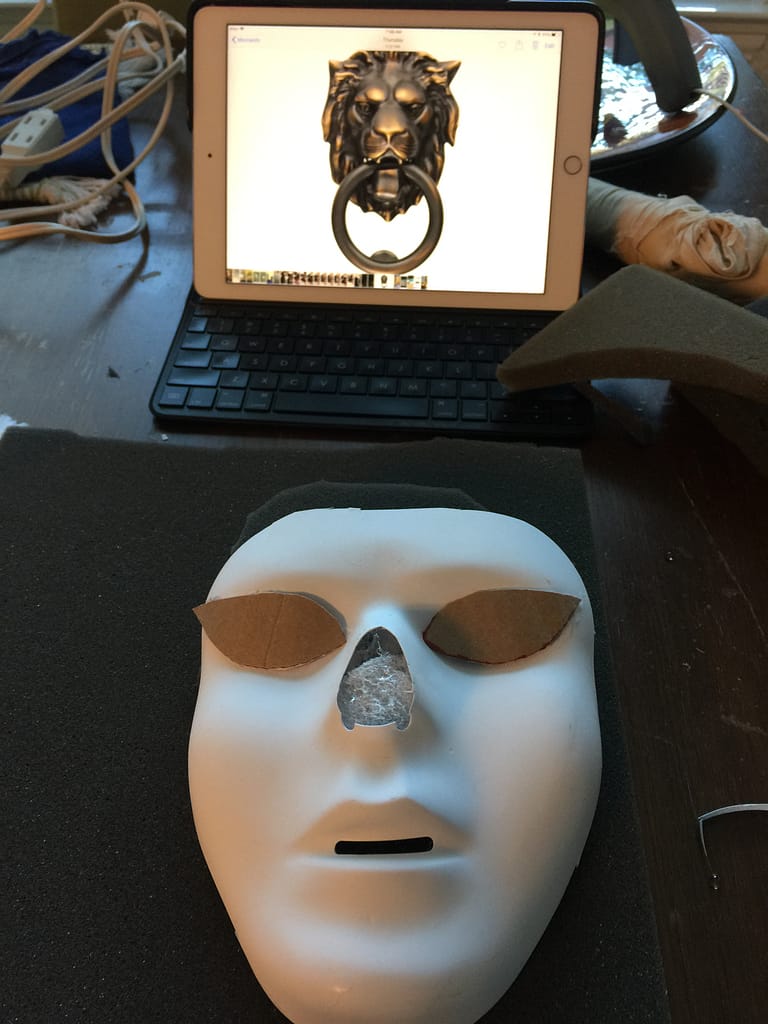
- Choose an inspirational photo. I chose this photo of door-knocker as my inspiration and later saw this actual door knocker in Paris at a hardware store.
- Purchase a pre-formed mask. I found this at an arts and crafts section of a discount store. It is not a lion or cat, but it provided a sturdy surface for me to add materials.
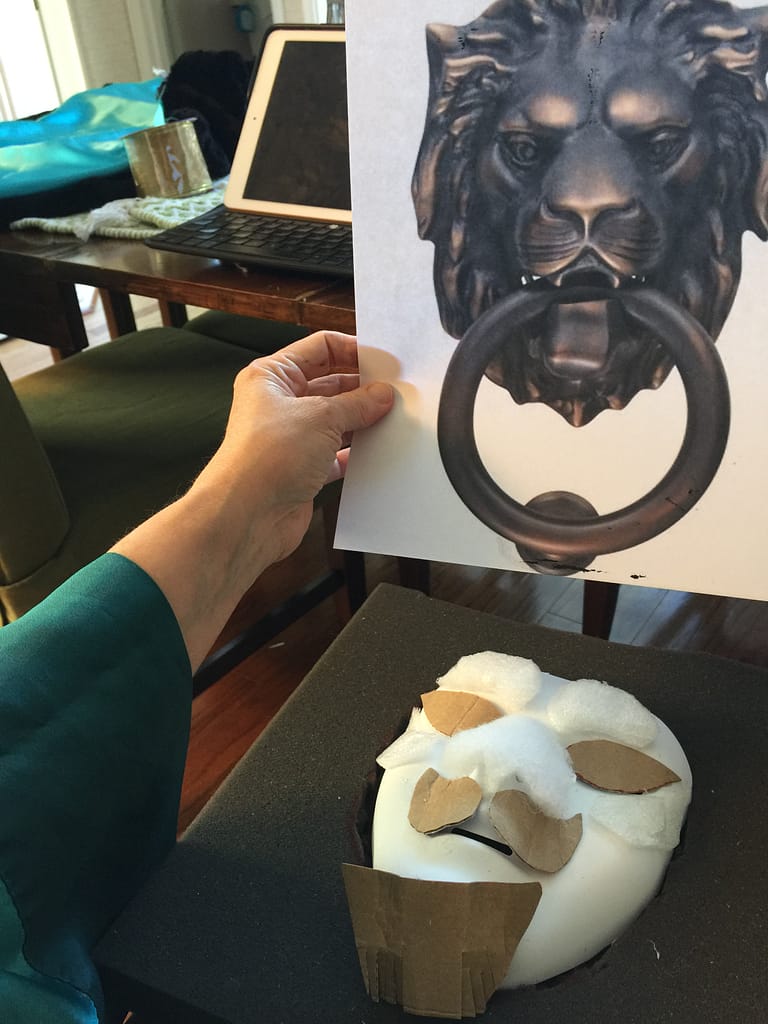
- Cut and paste to create the shape. I used materials from my home recycle bin, including bubble wrap, cardboard, foam, and batting.
- Continue to build the face with foam, cardboard, batting, etc. I was surprised to find that batting glues and spray-paints well. The material is cheap, malleable, and great for creating shape and fur texture.
- For the mane, I found a piece of foam in the recycle bin that protected a fragile item in the mail. I traced and hollowed it out enough to sink the mask into the foam to allow the mane to surround the face of the lion. BTW, I hoarded materials like these, but that’s another blog.


- Build the Face. I then began building with cardboard, batting, and pieces of the foam to try and match the inspiration photo.
- Spray Paint. Once the materials were secure, I spray painted it with gold paint.
- Add Detail. Using black acrylic craft paint and markers, I touched up the mask for the eyes and more definition.
- Mouth Ring. I couldn’t find a light-weight ring to place in his mouth, and I knew that that a ring would be much too tempting to my students to pull, so I used a flexible dollar-store Christmas rope material that I found in my rope, ribbon and string stash. I had to re-glue it a few times due to the temptation to pull, but years later, it was still attached to the foam-insulation door.
- Enjoy! Hope it helps. See more at KitchenSinkSongs.com

